Great tutorial on how to create a realistic emboss effect in Photoshop!
Creating an embossed effect
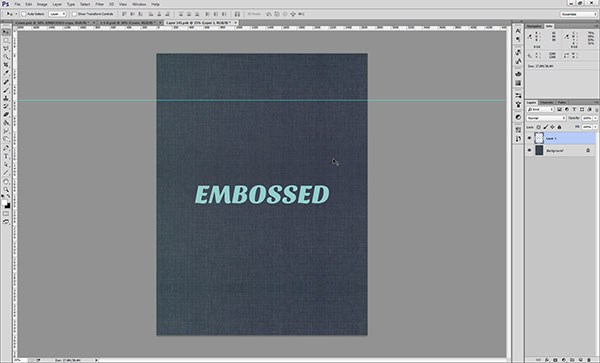
1. Open up your background texture image (in this case, a piece of textured paper) in Photoshop and create a new layer. Paste the logo, text or artwork that you want to emboss into the document using the “paste as pixels” option.
 Pro tip: Use the CTRL+V shortcut to automatically paste as pixels.
2. Ensure that your logo/text/etc. is in the correct position and is the right size for the design.
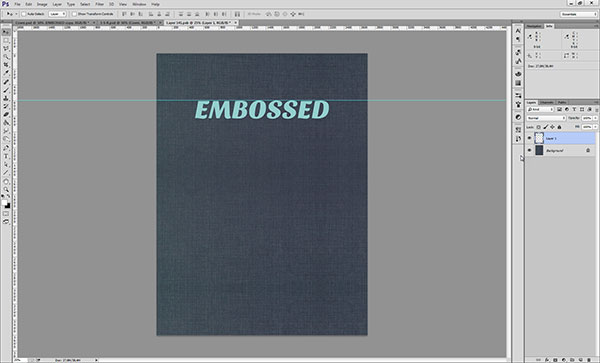
3. Select the pixels on this layer by right-clicking the layer’s thumbnail and clicking Select Pixels. Alternatively, you can hold the Ctrl button and left-click the layer thumbnail.
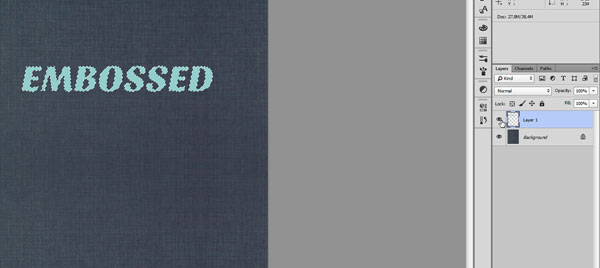
4. Click the Background layer and then Copy by pressing Ctrl+C. Create a new layer (Ctrl+Shift+Alt+N) and then paste the selection you copied into this new layer by hitting Ctrl+V. This will give you a copy of your logo that appears to be composed of the same…
View original post 556 more words

Leave a comment